Headphones Stopped Working? 11 Possible Fixes
This post may contain affiliate links which means that, if you choose to make a purchase, I may earn a small commission at no extra cost to you.
Headphones come in all shapes and sizes. From wired to wireless, open-back to noise-canceling, you can always find a headphone that suits your needs. I have a wall full of them and still keep buying interesting pairs when they come out. It’s a problem. Help! Irrespective of the pair of headphones you own, it’s annoying when they suddenly stop working.
Unfortunately, your headphones may stop working due to numerous reasons. The problems are as many as the number of models you can find on the market. Sometimes it may be a damaged cable, a corroded headphone jack, Bluetooth connectivity issues, software or driver issues, and many more. Let’s check out some common fixes that can solve the issue.
#1 Reboot and re-pair the headphones to your device
You have to try the classic “Have you turned it on and off again?” before you move on to any step. This option won’t work with headphones that have no integrated power source and just draw power from the headphone port.
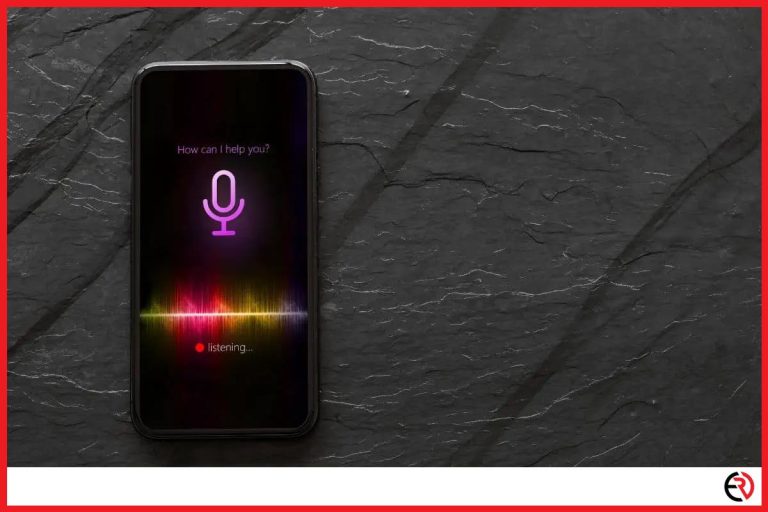
However, if you have Bluetooth headphones, this might help. While Bluetooth is a very convenient and reliable technology, for the most part, it has its flaws. Almost all Bluetooth headphones I’ve tried have connectivity issues sometimes. Be it a $100 pair or $500 headphones.
Turn your Bluetooth headphones on and off again. If it still doesn’t work, re-pair the device.
- Go to your phone or computer’s Bluetooth settings and make sure it’s visible to nearby devices.
- Press the Bluetooth button on your headphones to put them in pairing mode.
- Within a few seconds, your headphones should show up on the list of available devices on your phone or computer. Select the headphones and tap the Pair button to pair and connect.
#2 Charge the battery
I use the Sony WH-1000XM4 and they are a mean pair of feature-rich Bluetooth headphones. However, since they are so full of features with multiple noise-canceling microphones actively working in sync to silence the surroundings, they require a lot of power.
I have an obsessive gamer friend that plays FPS shooters all the time. He has a pair of RGB headphones. The lights may not add to the sound quality, but they do look good, especially with the programmable features. However, the LEDs that create that amazing RGB effect do hog extra power from the batteries.
That’s why if you own a pair of headphones that have such extra features, your battery may die out without your knowledge. Even when you plug in an auxiliary cable, the headphones may not work if the battery is out of juice. Charge your headphones and check if it works.
#3 Turn up the Volume
Sometimes the solution is really simple and obvious and eludes your senses. For instance, I often search frantically for my wireless earbuds while they are plugged into my ears. The same may be true for your headphones.
Check if you have turned down the headphone volume. Press the volume up buttons on the headphone or turn it up from your phone or computer. If this fixed your issue, then bathe in the moment of embarrassment and tune into some uplifting music.
#4 Switch to a different app
While this doesn’t happen very often, the problem may lie with the music streaming app instead of the device or the headphone. To confirm if it’s a problem with the app, open other music streaming apps or video apps and play a song or a video. If you get audio output from the headphones, the problem lies with the app.
Now you have a few options. Update the app to the latest version and check if the problem is fixed. If that doesn’t work, you can quit the app and open it again to check if the bug is fixed. Finally, you can reach out to customer support for the app and report the bug. You need to temporarily switch to a different app to listen to music and watch movies or videos till the bug in that app is fixed.
#5 Compatibility Issues
When the Xbox One was released, I thought I could use the USB headphones that were plugged into my PC. However, I was surprised to find out that my headphones didn’t work with the Xbox One despite the existence of several USB ports at the back.
Unfortunately, brands often create artificial boundaries that force you to buy products endorsed or certified by them. You had to buy Microsoft-certified USB headphones to make them work. There was no other way. Similarly, you’ll find that certain headphones don’t work well on your iPhone if they don’t have that “Made for iPhone” certification on them. In these cases, you have to buy a compatible headphone for your device even if it is working properly.
#6 Change Audio Output
This problem usually occurs only on computers and not on mobile devices. Both my Mac and PC have several ports. My PC has numerous USB-A ports, a few USB-C ports, audio ports, and optical ports. While my Macbook has fewer ports, I often tend to increase the number of ports with a dongle. My workload demands it.
When there are so many ports, I hook up a few more than one audio output device. Sometimes I’ll have speakers and headphones plugged in at the same time and switch the output when necessary. Even if you don’t have too many ports, you may have connected monitor speakers, Bluetooth speakers, and Bluetooth headphones connected to your machine at the same time.
When you have so many devices hooked up to your computer, the headphones won’t work if you don’t switch to the right audio output.
To switch the audio output on your PC:
- Open your computer and log in to your account.
- Depending on the location of your taskbar, you have to find the little speaker icon at one of the extremes. On my PC, the taskbar is at the bottom of the screen at its default location and the little speaker icon is at the bottom left.
- Click on the speaker icon and it should show you a bunch of playback devices you can choose from. The list shows you every single audio output connected to your PC. You can scroll down to find your headphones.
- Select the headphone from the list to route audio through your headphones.
To switch the audio output on your Mac:
- Press Command and Shift keys together on your Mac to open the search bar, type in “Sound” and hit return to open the Sound Settings.
- You can also hover over the dock, click on System Preferences, and select Sound with the speaker icon to open the same settings.
- Select Output at the top. It will show you the list of audio output devices connected to your Mac.
- Identify and select your headphones from the list.
While this rarely occurs on your smartphone, you may be playing audio on the wrong device if you have multiple Bluetooth audio devices paired to your phone. You may have audio playing on your true wireless earbuds instead of your wireless headphones. To fix the issue:
- Open your phone’s Bluetooth settings
- It should show you the list of paired devices and should highlight the device that is connected to your phone at the moment.
- Choose your headphones from the list and connect to it with a tap.
#7 Run Troubleshooters
If you’re using your headphones on your PC or Mac and the headphones aren’t working due to a software bug or settings error, running troubleshooters can help you fix the problem with a few clicks.
To run the troubleshooter on PC:
- Look for the speaker icon at the bottom right corner of your taskbar and right-click on it.
- Click on Troubleshoot sound problems from the list of options.
- A new window will open that will show you a list of connected audio devices. Select your headphones from the list and click on Next.
- Now let the troubleshooter do its thing and fix the problem for you.
- You can also run the audio troubleshooter in another way. Click on the Start button at the bottom left corner and select Settings.
- Click on Update & Security from the available tiles.
- Select Troubleshoot from the options on the left and click on “Playing Audio”.
- A “Run the troubleshooter” button should pop up under the Playing Audio option. Click on it and let the troubleshooter hunt down problems and come up with a fix.
- After the troubleshooter fixes or at least attempts to fix the bugs, it may prompt you to restart your system for changes to take effect.
Apple doesn’t have a dedicated troubleshooter for their MacBooks or iMacs. However, there are third-party software that can help out in these situations. CleanMYMac X is one of them. It’s a system maintenance app that can run Maintenance Scripts to optimize your Mac’s performance and also find out bugs and issues.
You can download the Free version of the app with limited features or download the Premium version for a fee to access all the features. It may help you to sort out audio problems and get those headphones working again.
#8 Update, Reinstall or Replace audio drivers on your computer
When you plug in your wired headphones to your PC you should get that familiar tone that lets you know your device is successfully detected by the onboard hardware. If your headphones still don’t work after that tone, there may be some issues with the audio drivers on your computer.
To confirm if it’s a driver problem on your computer, plug in the headphones to other devices like your phone, tablet, or other computers. If you can listen to music, it’s a driver issue on your PC.
To fix audio driver issues:
- Click the Start button and type in “Device Manager”.
- Click on the Device Manager option with the camera and printer icon.
- Select Audio inputs and outputs and right-click on your audio driver. For my PC, it’s “Realtek HD Audio”.
- After you right-click the audio driver, click on Update Driver, and then choose “Search automatically for updated driver software”.
- If Windows fails to update the driver, then right-click on your audio driver from Device manager and click on Properties.
- Select the Driver tab and “Disable Device” before re-enabling it.
- You can also choose the “Roll Back Driver” option if it’s available.
#9 Update your headphone’s firmware
Modern headphones that use advanced features need firmware to talk to the connected device and control various features. If you have a problem with the firmware, your headphones may create some problems or may not work properly. That’s why you need to keep your headphone’s firmware updated to resolve bugs and enjoy new features.
Most headphones that require firmware can be updated with the companion smartphone app. There are too many headphone manufacturers with an equally large arsenal of apps. I recently updated my Sony WH-1000XM4 and I can show you how I updated its firmware. If you have a different headphone, you can refer to the user manual or contact customer support to figure out how your headphone’s firmware can be updated:
To update your headphone’s firmware:
- Download the Sony Headphones Connect app from the Google Play Store on your Android phone or the App Store on your iPhone.
- Sign up with a new account or sign in with an existing one and set up the app.
- Allow Bluetooth, Location, and other necessary permissions.
- Turn on the headphones and it should pop up in the app. Tap on Connect at the bottom.
- Follow the on-screen instructions and set up your headphones.
- Once the headphone is set up, you can check the firmware version of the headphone by tapping on the three-dot menu button at the upper-right corner.
- Select the version of the device shown on the pop-up menu and confirm the firmware version.
- Next, go to the System tab on the app, scroll down and select the “Do not turn off” option under Automatic Power Off. This prevents the headphones from shutting down during the update.
- Before you start the update, make sure your headphone is fully charged and disconnect it from all other Bluetooth devices.
- If you aren’t on the latest firmware, the app will show a notification of available updates at the bottom. To proceed with the update, tap on More Info.
- Now you’ll see the latest firmware for the headphone and any new features or bug fixes would be listed in the description.
- Tap on Start at the bottom right corner.
- Once the update is completed, any software bug should be resolved and your headphone will start working if that was the issue.
#10 Update your device’s OS, or Restart it
If your headphones aren’t working, try restarting your device. A simple restart can solve a lot of bugs and errors and may make the headphones work again. If that doesn’t work, check if your device is updated to the latest software version.
Your smartphone, laptop, or tablet will be updated to the latest version if you have turned on Automatic Updates in the Settings. Otherwise, you can manually check for software updates and update to the latest version.
Software updates may increase compatibility with more headphones, fix existing issues and solve old bugs. Make sure that you’re always on the latest version of the operating system.
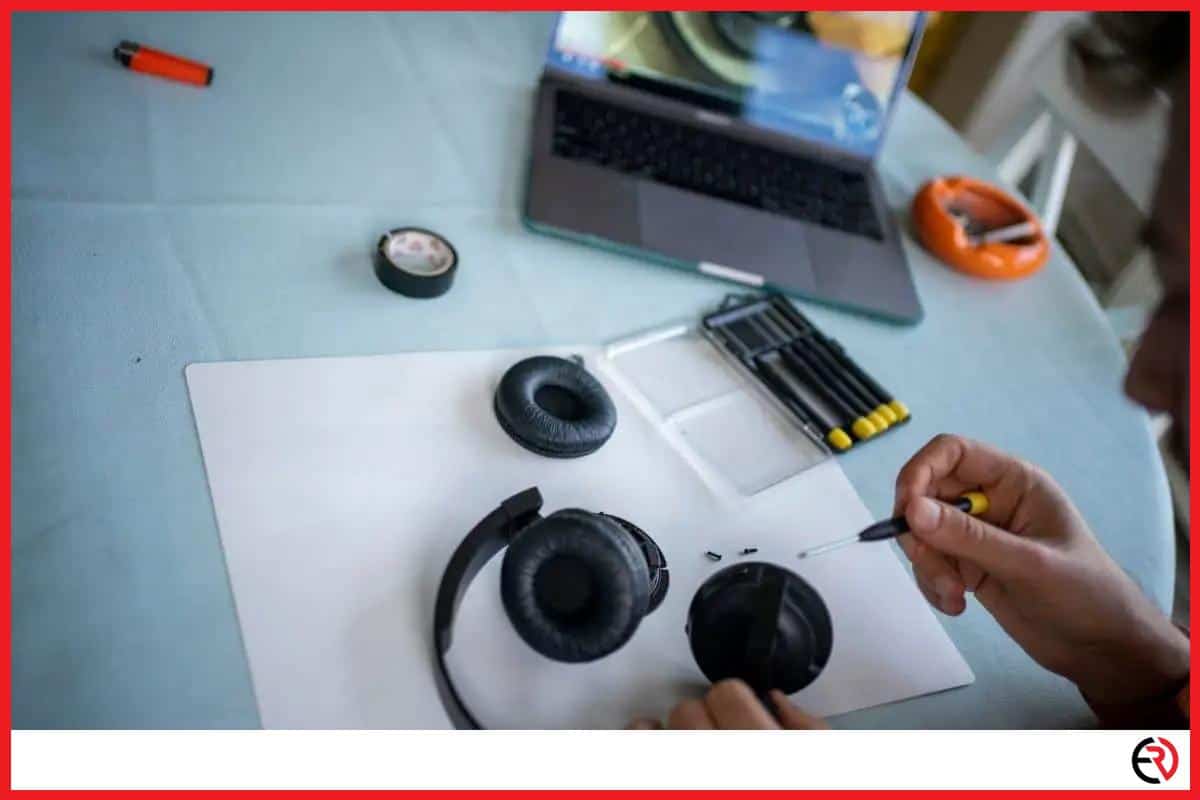
#11 Replace the headphone jack
This is the last piece of the puzzle and should be left off if you aren’t confident with your DIY skills. Even I had a hard time getting used to the timing of the soldering iron. Why do you need a soldering iron? Well, you’re about to find out.
If you have a wired analog headphone, it should connect to your device with a 3.5mm headphone jack. Your headphones are very sturdy. I know I’ve let my headphones face the floor quite a few times and apart from minor dents and cracks, they still work fine. However, in analog headphones, apart from the cable, the headphone jack is the most vulnerable and easily damageable part.
If you have a decent pair of headphones, you’ll have a detachable cable that can be removed and replaced if necessary. However, if you have permanently attached cables, then you need to fix the damaged headphone jack.
First of all, you need to make sure that the headphone jack is the root of the problem. Clean the headphone jack with rubbing alcohol. Before you plug it in your device, use a hairdryer to blow the headphone port with the heat turned off. You can also use cotton swabs to clean the headphone port.
If the problem persists, then plug your headphones into other devices and check if the device is working as it should. If there are still problems like the sound coming on and off, only one ear cup working, or static and noise problems, then you may replace the headphone jack.
Before you replace the headphone, you need a few tools and supplies:
- A replacement headphone jack. Preferably a metal gold-plated jack that can resist corrosion and damage and lasts for a long time.
- Soldering iron and Solder.
- Pliers, wire cutters, and scissors.
- Electrical tape and a damp piece of sponge.
Once you have the above-mentioned tools and items, you can replace the headphone jack:
- Cut off the old faulty headphone jack with the scissors.
- Get your wire cutters and strip off the external protective plastic or rubber sleeve to expose the individual wires.
- Depending on the pair of headphones you own, you’ll find three or four wires after you expose the plastic shell. Sometimes you’ll even get one wire wrapped around the other two.
- If there are four wires, two of them that have protective tubing are signal wires, while the exposed or black tubed wires are ground wires. Similarly, if there are three wires, black tubed or the exposed wire is for grounding while the other two wires carry the audio signal. If you have a wire wrapped around the other two, that one acts as the ground wires, while the rest are signal wires.
- Get the new 3.5mm headphone jack and unscrew its casing. Use a metal clip or some other structure to hold it high above the table in a fixed position.
- Hold the solder on one of the contact points of the headphone jack and touch the solder to melt it on the contact point. Repeat this on the other two contact points as well.
- As you work with the soldering iron, make sure to wipe off excess solder on a damp piece of sponge.
- Now take the casing of the headphone jack and thread it onto the wire.
- Trim the exposed wires to around a centimeter or two.
- Add solder to the end of each wire as you did with the contact points on the headphone jack. Make sure not to hold the iron on any part for too long to avoid thermal damage.
- Bring the soldered wires close to the headphone jack so that you can connect the ground wire to the ground contact at the end while the signal wires need to be connected to the signal contacts on either side of the jack.
- Follow the steps mentioned above to solder the wires with the contacts.
- Cut off the electrical tape and wrap it around the contacts and exposed wires to prevent shorting the wires.
- Finally, screw in the casing to the headphone jack, and your headphones should be working fine.
Conclusion
When headphones stop working out of the blue, it’s a very unpleasant experience. I’ve faced it too many times on various headphones connected to different devices over the years. The above-mentioned fixes have helped me get my headphones back in working condition for the most part and I hope it’s the same for you.
If your headphones still aren’t working, then you should contact the customer support team of your headphone manufacturer or get them repaired by a reputed technician.