Can You Install Speakers in the Wall?
This post may contain affiliate links which means that, if you choose to make a purchase, I may earn a small commission at no extra cost to you.
I was thinking about upgrading my home theater system and wanted my living room to look cleaner. While I could buy smaller speakers or a soundbar to reduce the overall footprint of the speakers, that would compromise sound quality. So, I decided on the next best thing.
Similar to in-ceiling speakers, some in-wall speakers can be installed on the walls. The speakers stay flush to the wall and the wires stay hidden. It’s a clean look that would be appreciated by most homeowners.
Let’s check out how you can install speakers on the wall.
Speaker Placement
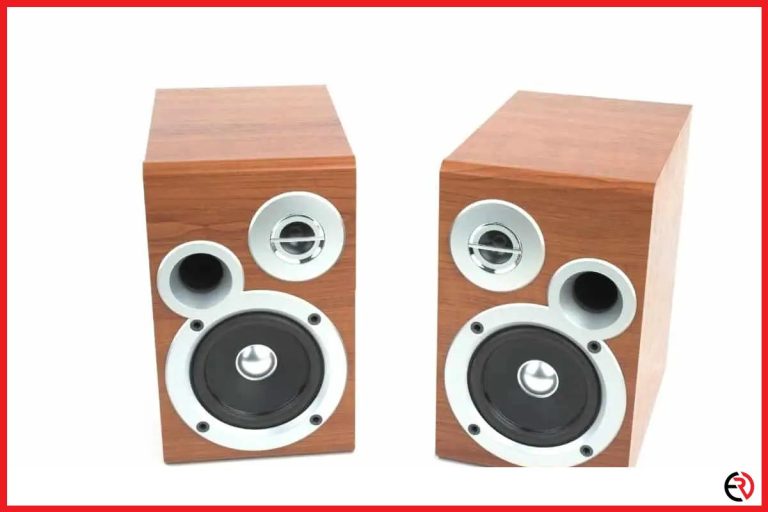
You’ll only need in-wall speakers at the back and the front. Surround speakers need to be in an angled position and the back and hence can’t go inside the wall. When you’re considering speaker placement, the ideal rule is to maintain a gap of 6 to 10 feet between the left and right speakers and they should be at your ear level so that the sound comes to your ear directly without being reflected off surfaces.
You also need the speakers to be at least a few feet away from the wall so that the low frequencies don’t get enhanced and create a boomy bass response. Ideally, the speakers should be 6 feet above the floor since that’s the typical seating position where the speakers are at your ear level. However, you can make adjustments if you have low-profile seats or particularly tall couches.
Once you’ve identified the placement of your speakers, you need to figure out the location of every stud bay you want the speakers mounted to. You have a little room to move your speakers a bit within the width of the stud bay. However, it’s more important to have enough space to mount your speakers between the studs.
Identify wire paths
Before you start hacking into the drywall with your saw, you need to figure out how to run the speaker wires. You’ll have a tough time if you’re planning to install the speakers on the second floor with attic access or the ground floor with an unfinished basement. You’ll have to make your way among pipes, ductwork, or thick electrical cables that would add interference to the signal running through the wires.
You may need to cut a single-gang or double-gang electrical box opening behind your equipment rack. After that, you’ll need to drill a hole from the stud bay. To do this you may need to access the stud bay via the floor plate on the ground floor or the top plate on the second floor. From this point, you need to run the wires into the attic or the basement and run it across till you reach the study bay and check if the wires reach the speakers. If you have the option, it’s best to drill down your way into the stud bay instead of going from the attic or basement.
Cut holes into the wall
Now that you’ve identified the speaker locations with a stud finder and checked for cable reach, it’s time to check for obstructions at the back of the drywall. You don’t want pipes, ducts, electrical wires, and other such obstructions behind the drywall. To check if the drywall is free from obstructions, drill a small quarter-inch hole in the wall. The hole needs to be at the center of the stud bay.
Bend a coat hanger at a right angle and insert it into the hole. Move around the hanger and check for obstructions. If you hit any obstructions, you need to take out the hanger and patch up the drywall. Repeat this, till you’re sure that there are no obstructions behind the drywall. Once that’s done, you can start hacking into the drywall according to the template of the speaker. Align the template and mark it with a pencil.
After marking the speaker cutout, cut off a small rectangle at the center and reach into it with your hand. Feel around the area with your hand to make sure that there are no obstructions and continue to hack the drywall according to the speaker cutout. While you cut the drywall, use a saw with beveled edges with the point of the blade towards the center of the cutout. This way you don’t risk hitting any wires, pipes, or other such obstructions beyond the speaker cutout.
Run speaker wires
When you’re installing speaker wires, there are four options. You can run them over or under the floor via the attic or basement, or through the baseboards. I always prefer this option since it’s less invasive. You need to access the baseboard and use a utility knife to cut a narrow channel into the drywall, run the speaker wires through that channel and replace the baseboards. The least favorable option is running flat wires that stick to the wall. I always try to avoid this since it ruins the aesthetics of the room.

If you’re running wires across the drywall, you need to drill wide enough into the stud bay to pass speaker wires through them. Once that’s done, you can patch up the drywall. Usually, I prefer 16-gauge or 14-gauge wires if I have to run them up to 100 feet. If I need to run the wires beyond that limit, I use thicker 10 gauge wires. Make sure that you get wires specially designed for in-wall use.
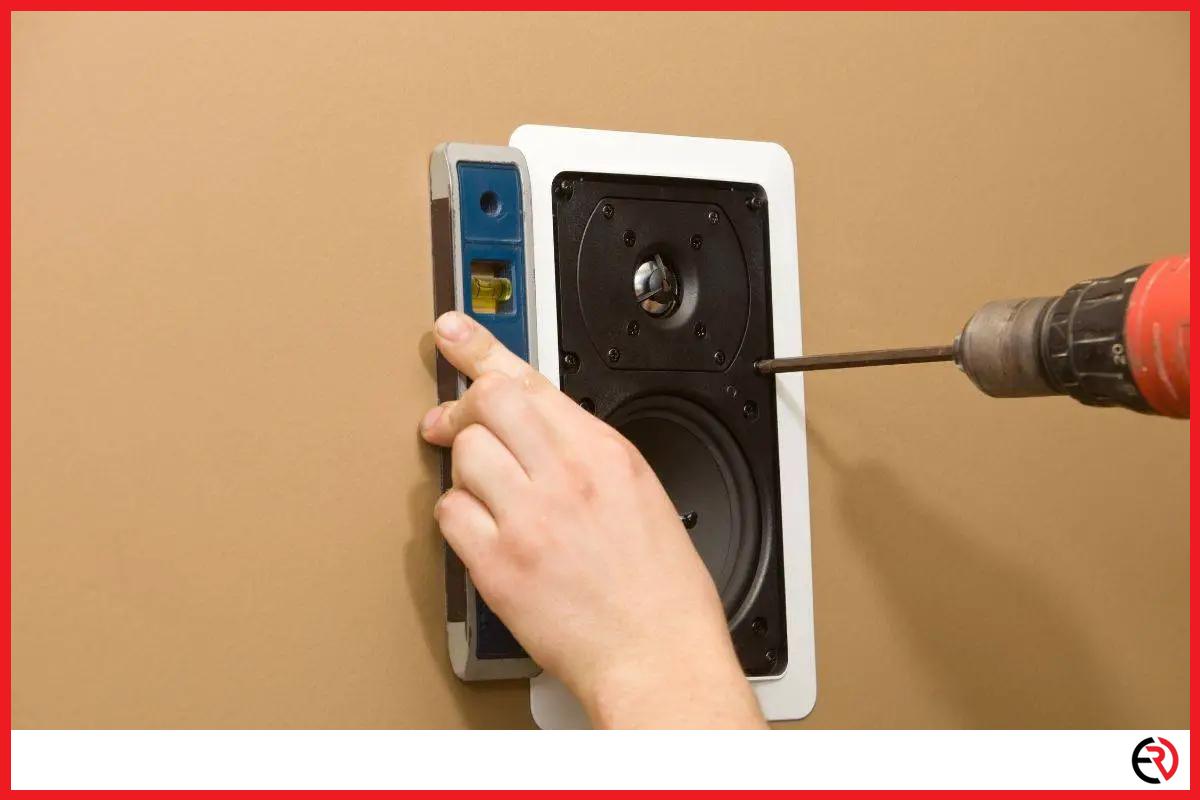
Speaker installation
Fortunately, screwing in the speakers is the easiest part of this DIY task. Loosen up the dogleg clamps and insert the speaker into the cutout. Wiggle it around till you get a flush fix and pull up the dog clamps closer to the drywall till it grips onto the wall along with the speaker profile. Make sure you attach the speaker wire before you install them. Finally, you can place the grill or other cover that came with your speakers and put it on.
Conclusion
While installing in-wall speakers is a bit of a chore, I thoroughly enjoy it after I see the final results. The speakers are hidden flush against the wall and my room looks a lot cleaner. I hope this article was helpful to you.