How to Clean Foam Earbuds: A Step-By-Step Guide
This post may contain affiliate links which means that, if you choose to make a purchase, I may earn a small commission at no extra cost to you.
Earbuds can be useful in helping to keep your music and phone viewing habits to yourself. On a noisy commute, it can help to have a set of earbuds. Due to their small size, they can go into a pocket, enabling you to be able to keep them on you practically all of the time. If they stop working, they may not be broken. They may just need a good cleaning.
So, how to clean foam earbuds?
- Remove the foam tip
- Wash the foam tips with soap and water
- Scrub the grill
- Swap with a cotton swab and rubbing alcohol
- Use cleaning gel to remove remaining dirt
- Reassemble and test
I honestly cannot even begin to count how many earbuds I have thrown away when one of the sides stopped working. I thought I had broken one of the wires. It wasn’t until a friend showed me how to clean my earbuds that I realized I may have thrown out quite a few pairs just because they were dirty. I hope that I can share what I learned to prevent you from doing the same.
How I Clean My Earbuds: An In-Depth Look
Cleaning your earbuds may be one of the most important things you can do to both keep your ears healthy and to extend the longevity of your earbuds. Earbuds can get yucked up by dust, dirt and especially earwax. The gunky buildup can do more than just block the sound. It can even prevent the vibrations that produce the sound in the first place.
Before you throw away another pair of earbuds that are seemingly broken, take the time to check them first:
Check the jack – If you are using the headphone jack on a computer, tablet or phone, check the earbuds with another device first. The issue may not even be the earbuds to begin with. In which case, a new pair will do nothing to solve the issue and will just be a waste of money.
Check inside – While they may not seem to be dirty, that little tip that you put in your ear can hide a lot of gunk. Gently pull the tip off and look at the grill. You may have gunk inside that is making it seem like they are broken when they are not.
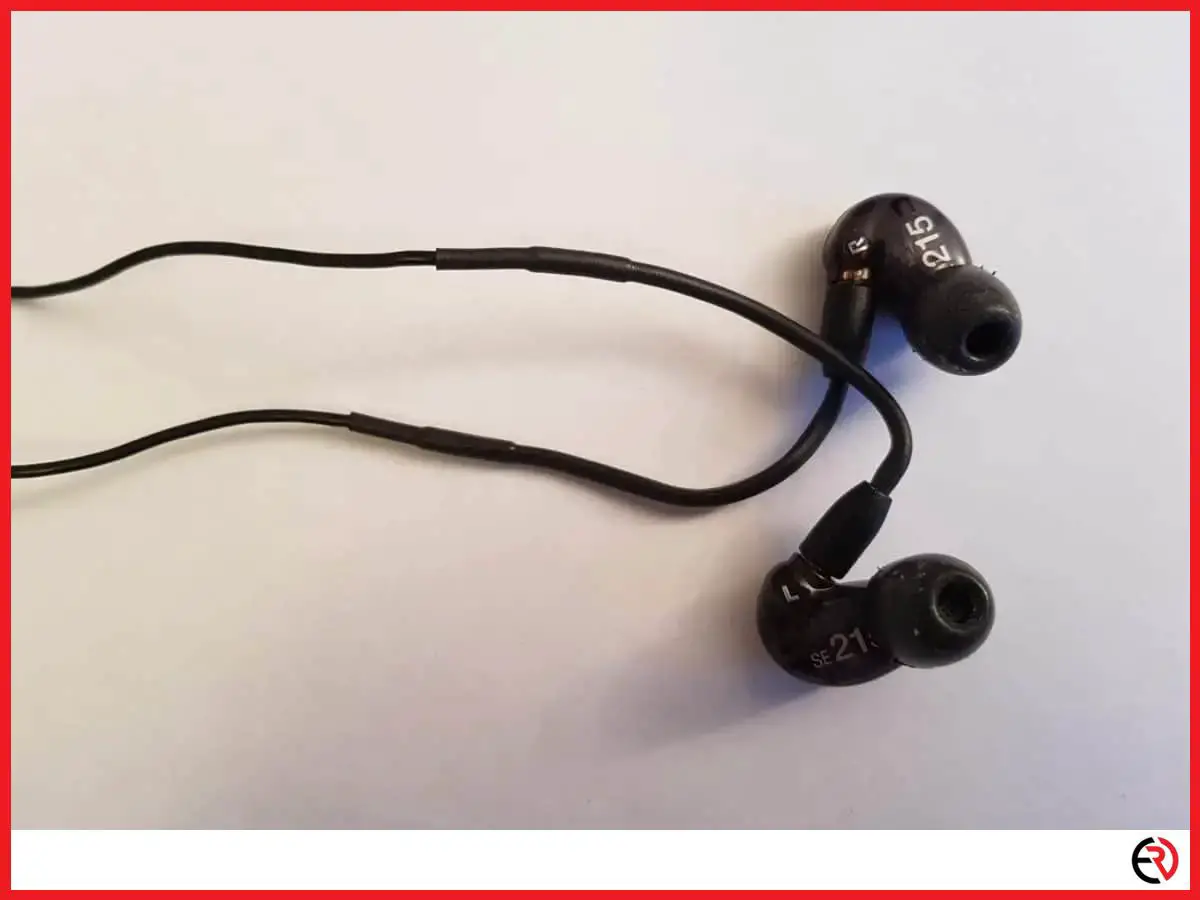
Remove the Foam Tip
The first step in cleaning anything electronic is essentially disassembly. For earbuds, this just means removing the foam or silicone tips that go into your ears. I find that just gently pinching the tip and pulling slightly, while holding the earbud in my other hand, does help with the removal of the tip. NEVER hold them by the wires when removing the tip as it could cause some of the wires to break.
I usually also take the time to wash them out before I start cleaning the earpieces. This way, they have time to dry while I am cleaning the earbuds itself. For silicone tips, washing and rinsing can be done all at once since they do not soak up the water. Gently rubbing them with a piece of paper towel between your fingers should be sufficient to dry them off.
Wash the Foam Tips
You can use a mild detergent, like a drop or two of Dawn dish soap to clean any dirt or gunk off of them. Rinse them well as leftover detergent may cause irritation to those with sensitive skin. You may need to rinse more than once to make sure you get all of the detergents out of them. Squeeze all the water out each time you rinse to get out as much soap as you can.
Using a small towel or paper towel, gently squeeze them without rubbing. Foam earbud tips are fragile, even more so when wet. You may need to move them around in the paper towel to ensure that you are getting out as much water as you can. Keep moving and squeezing until you are able to squeeze and the towel remains dry. This is where paper towels have the advantage.
Then just set them to finish drying on a towel or paper towel. While it may seem like you have dried them completely, there will still be a bit of moisture inside of them. You will really notice it when you put them in your ears as they will feel cold. I advise allowing them to dry on a surface that is a different color from the foam, so they don’t blend into the background, and you lose them.
Scrub the Grill
The grill is the part inside of the earbuds that produce the sound. This looks basically like a small sifter inside the earbuds. Underneath this grill is the parts that make the earbuds work, including a tiny speaker. Speakers use vibration to produce sound, and if the diaphragm (the part that vibrates) can’t move, you won’t get any sound and dirt can prevent this vibration.
The grill is the part of the earbuds that protects the speaker. It can get so dirty that it prevents the sound from coming out correctly or at all. It is possible for the grill to get so dirty and clogged up that you can’t hear anything through it. Before you replace them, check to see if this part is dirty, which can prevent it from working properly.
I find what works best is to use a stiff toothbrush to remove the gunk. Don’t put anything on the toothbrush, just use it dry. If you use a wet toothbrush, you could damage electronics involved in the earbuds.
Additionally, a dry toothbrush is actually more effective at removing gunk from earbuds. Most earwax, once it is out of the ear, will begin to dry out and in this case, you want it to be as dry as possible, so more of it comes out when you scrub it. It getting wet can make it stick again and makes it hard to get out of the grill.
Anything still left inside the earbuds we will deal with in the next step.
Swab With a Cotton Swab and Rubbing Alcohol
Anyone who has dealt with trying to fix anything electronic at home knows this trick. You want to use isopropyl rubbing alcohol and a cotton swab to remove any extra dirt and gunk off of the earbuds. Not only will this basically sterilize it and remove any bacteria, but it will also remove any gunk that is not dried out yet.
Starting with the outside, using minimal alcohol, make sure to get off any surface dirt and gunk off of the earbud. Then going across the grill, roll the cotton swab as you run it across in the opposite direction. This will help it to pick up dirt and sweep it away instead of pushing it further into the earbuds.
Use Cleaning Gel to Remove Remaining Dirt
Cleaning gel is a good way to get into those cracks and crevices. Made commercially, this type of slime was made to remove all of the dust, debris, and gunk out of your electronics and works well for the grill on your earbuds as well.
Taking a small ball of gel, no bigger than ½ inch in diameter, press it to the grill on your earbuds and immediately remove it. You do want to do this slowly, but don’t let it sit on your earbuds either as it could end up being a case where the solution makes the issue worse.
Alternatively, you can use homemade cleaning slime, which is made with Elmer’s glue and other ingredients that are easy to come by and that most people keep as a staple in their homes. I’ll talk about this later in the article.
Reassemble and Test
Putting your earbuds back together is as simple as putting the tips back on. Holding the tip on one hand and the earbud in the other, with gentle pressure, push the bud into the tip.
If you have a gentle touch, you may feel the tip “pop” back on, but not everyone has fingertips that are sensitive enough. Otherwise, if you don’t have sensitive fingertips, give a gentle tug on the tip to ensure they are attached correctly.
Testing them is pretty easy. If they are wired, plug them into something that you know works. If they are Bluetooth earbuds, then using the Bluetooth function, you can check to see if the sound has returned to the affected side.
Recipe for Homemade Cleaning Slime
Making your own homemade cleaning slime may not be the same as the commercial cleaning gel, but it can come in a close second in a pinch. We aren’t usually expecting our earbuds to stop working after all. Similar to the Elmer’s Glue recipe for non-toxic slime for kids, this adult slime can help with cleaning electronics, as long as you follow the recipe and the tips at the end.
Ingredients:
1 ½ cup warm water
¼ Borax (found in your laundry detergent aisle)
5 oz bottle of white school glue (Elmer’s glue)
Food coloring (This is optional and needs to be used very lightly, only a drop or 2 at most)
Mixing:
- Mix 1 cup of water with ¼ cup Borax in a separate container.
- Mix ½ cup water with the glue. (add in a drop of food coloring for color if desired at this point.)
- Add the Borax and water mix into the glue and water.
- Mix until it starts to firm up. It will be quite loose for a few minutes as you are mixing it. After a couple of minutes, it will begin to thicken up.
- Once it starts to firm up, you can then pick it up and start kneading it with your hands.
- Take your time and play with it a bit. It can take five minutes or more until it dries out enough to form it into a ball or anything else.
Watch this video on how to create your own cleaning slime:
Tips for Homemade Slime
Follow these tips to make the best use of your homemade cleaning slime:
- Patience is needed when mixing the slime. It needs lots of elbow grease to be able to work from an oozy goo to a workable slime.
- Do not use it until it is firm and you can roll it into a ball.
- If it does not thicken up enough to be able to form or it sticks to your hands, you may need to add a bit more Borax into the mixture.
- Do not just leave it on your electronics, including earbuds, for more than a second. It will start to ooze into the cracks and crevices that you are trying to clean out.
- Use a small amount at a time. This will make it easier to work with.
- Alternatively, you can use this cleaning slime as a stress reliever too. There is nothing wrong with adults playing with slime, and the longer you play with it, the better it will be to use on your electronics and earbuds as it will be worked through thoroughly.
Benefits of Cleaning Earbuds Regularly
Earbuds, like your toothbrush, can pick up bacteria and all kinds of gunk from being inside of your body. Even though we don’t usually look at earbuds as being inside of our bodies, when you put them IN your ears, that is exactly what you are doing. When we do this, we are transferring all kinds of gunk into our ears and from our ears to the earbuds.
The health of Your Ears
Regular cleaning your earbuds will help to limit this gunk and the effects it can have on both us and our earbuds. While you may not pick up a fork off the floor and use it to eat with, many people will pick up earbuds that fell on the ground and stick them in their ears. Although it may not seem like the same thing, there is very little difference in the bacteria that we are putting in our ears.
By cleaning your earbuds regularly, you are helping to limit the bacteria and microbes that you are exposing your ears to while at the same time helping to prolong functionality in them. That same gunk that could give you an ear infection can also inhibit the functionality of the earbuds by either blocking the sound or preventing the vibrations from occurring, which is how they work.
If you share your earbuds, even with your children, then they should be cleaned between each person’s use. Both before and after your child uses them to help limit the transfer of bacteria especially if your child is prone to ear infections. Granted you do not necessarily need to take them apart and perform a complete cleaning before each person uses them.
You can just rub them down with rubbing alcohol and a cotton ball on the outside to limit the transfer of bacteria both before and after use. Additionally, if you get into the habit of wiping them down after each use, you can help to ensure the health of your ears, especially if you are prone to infections. Plus children as young as four or five can be taught this little safety tip as well.
Saves Money
With proper care, which includes regular cleaning, even a cheap set of earbuds can last longer. Oftentimes when a set of earbuds stop working, especially in one ear, we are more inclined to think that we broke the wires inside, especially since there is very little that is protecting those wires although this may not always be the case.
Whenever you get a pair of earbuds that one of the ears stops working, it makes sense to try a few things before you just toss them out and spend money on a new pair. Start by checking them with a different device first. Sometimes, as the headphone jack starts to go out on a phone or tablet, it may seem like your headphones are dying, not the jack itself.
As the wires in the jack get broken, it can cause one of the sides of your earbuds to stop working. Without checking with another device, you may end up throwing away a perfectly good pair of earbuds. If you are using Bluetooth instead of the jack, this step can be skipped. It’s probably not the jack if you are not even using the jack.
Once you determine it is not the jack, check the earbuds themselves, but I don’t mean the wires. Gently remove the tips and look inside at the grill. You may find there is a lot of gunk on the grill that you couldn’t see with the tip in place and it is this gunk that may be preventing optimal functionality. By cleaning them regularly, you don’t have to worry about this issue even happening.