How to Improve Chromecast Quality
This post may contain affiliate links which means that, if you choose to make a purchase, I may earn a small commission at no extra cost to you.
When it comes to products, the Chromecast lineup has always fascinated me. The 1st gen I owned didn’t have 5GHz WiFi support while the 2nd gen didn’t have 60fps video playback. The 3rd gen didn’t have 4K and the latest Chromecast with Google TV surprisingly provides exceptional value for money with all the latest features and makes your dumb plasma TV smart. That’s why it bugs me when I still get quality drops on Chromecast.
There are many easy fixes around this issue. To improve Chromecast quality you can connect your Chromecast and source device to the 5GHz WiFi band of your home network, adjust your router’s position, change the power cable, close other apps, stream local videos, and use Chromecast-supported apps.
Let’s have a deeper dive into all those fixes.
Use the 5GHz band
I remember the olden days when a dual-band router used to be a luxury (Think of buying a capable WiFi 6 router today. Yikes! Expensive). Now it’s hard to find a router without dual-band technology. So why not use it?
Most of us are used to the 2.4GHz band and rarely think about the 5.0GHz band. However, it has major advantages that can solve our streaming woes. For instance, the 5.0GHz band is fairly new and has far more channels compared to the legacy 2.4GHz band. That’s why it is less vulnerable to signal interference and disturbances.
When my phone has a hard time transmitting data to the Chromecast due to interference, it compensates by lowering the video quality and ruins my weekend movie night. Moreover, the 2.4GHz band has limited bandwidth. The 5.0GHz band supports several times higher data rates for a smoother streaming experience.
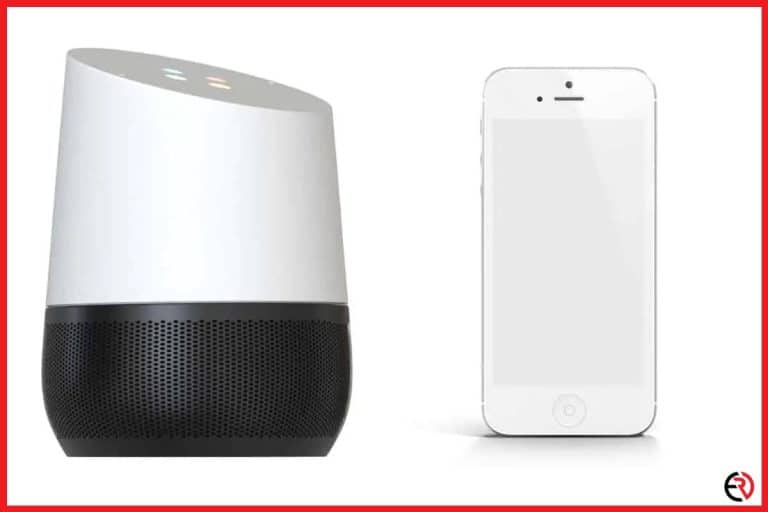
That’s why I switched to the 5.0GHz band for the Chromecast. However, we need to make sure that we also switch to the same 5.0GHz network on our phone, laptop, tablet, or any other source device that’s broadcasting to the TV.
Adjust your router’s position
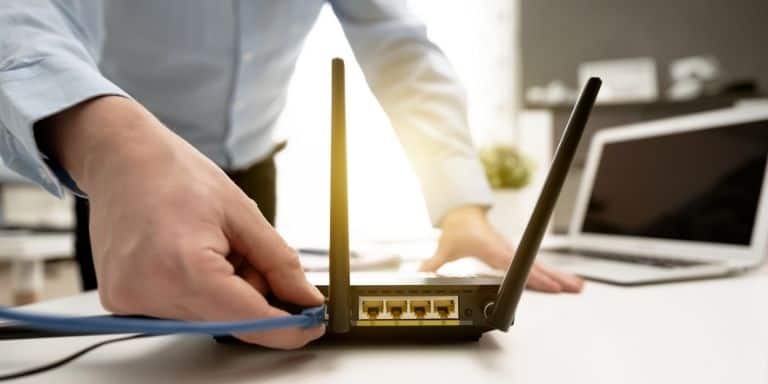
WiFi like other wireless technologies that rely on radio frequency comes with a lot of terms and conditions. One of them includes the router’s positioning. Positioning is key to a buttery smooth streaming experience. Whether you have a single router in a small studio apartment or a mesh WiFi network with a bunch of routers in a two-story home like me, we all need to adjust the router’s position for the best signal strength and bandwidth.
This becomes very important when we switch to the 5.0GHz band. While the 5.0GHz band has more bandwidth and supports better signal quality, it is weak at penetrating walls and loses its effectiveness when devices are far away from the router. That’s why I had to move around the routers and place them in different parts of the home for the perfect signal strength.
When the Chromecast doesn’t have enough bandwidth and data rate, it switches to a lower quality to maintain streaming without any disruptions or buffering.
Change power cable or power source
Chromecast is a capable little device that plugs into the HDMI port of our TV and streams content from other devices. However, it also needs to be plugged into a power source via a USB cable. If the Chromecast doesn’t get enough power it won’t perform at its full potential and can cause problems like stuttering, buffering, reduced video quality, and more.
Usually, I provide power to my Chromecast by connecting it to one of the USB ports of the TV. Chromecasts are highly power-efficient, require less than 10 watts of power and the USB ports on my TV do a good job at providing it. However, over time electronic components degrade and the USB port can’t provide enough power. Switching to a different USB port gets the job done.
If the problem isn’t with the USB port of my TV, it’s usually due to a degraded or damaged USB cable. Changing the USB cable gets the job done. If all the USB ports can’t provide enough power, I switch to an external power source and connect the USB cable to a wall adapter.
When I upgraded to the latest Chromecast with Google TV, I was surprised it came with an external wall adapter, and plugging it into the TV USB port wouldn’t be enough.
Stream local videos
When I stream content from the internet and cast it to the Chromecast device, the quality drops whenever my network has any issue. That’s why I prefer streaming downloaded local content. My source device doesn’t need to worry about Netflix, Amazon, or Youtube’s server problems and doesn’t need to deal with the shenanigans of my ISP.
Most popular streaming apps allow me to download movies on the device for offline viewing and that eliminates any network hiccups while I watch my favorite shows and movies. If I download the mp4 or Blu-ray file of a movie, I like to stream it via the VLC Media Player on my laptop. This also brings me to my next point.
Use Chromecast-supported apps
There are several unofficial applications that allow me to stream content to Chromecast through various devices. However, I’ve faced several problems while using them. They are especially bad at maintaining good stream quality.
That’s why it’s best to use official Chromecast-supported apps. They are optimized to encode and deliver videos to the Chromecast efficiently with minimal loss of data. Fortunately, most popular streaming apps are already supported by Chromecast.
Close other apps
When I stream from my phone or laptop, I make sure to close all background apps and downloads before I start casting to my TV. Otherwise, those apps hog the data and affect the quality of the stream.
Conclusion
All these methods help me to stream movies and video content in high quality without any interruptions or a hit to the streaming quality. I hope it works out for you as well. If you’ve tried all the above-mentioned methods and your problem isn’t resolved, it’s best to reach out to Google customer support.