9 Tips to Stop Headphones From Controlling Your Phone
This post may contain affiliate links which means that, if you choose to make a purchase, I may earn a small commission at no extra cost to you.
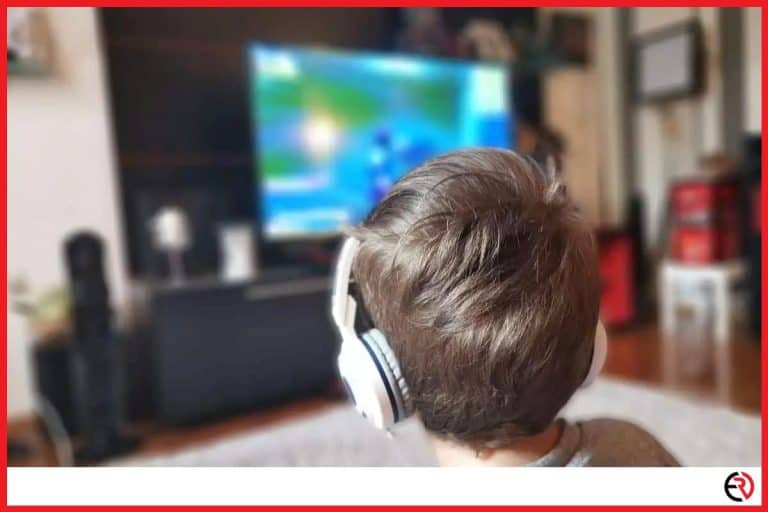
Does your smartphone start malfunctioning when you plug in your wired headphones? Perhaps the music tracks keep on skipping or pausing or you notice that the volume level keeps on changing? And, sometimes, do voice assistants like Google or Siri keep activating even when you didn’t give a voice command?
There could be a number of reasons why this may happen. In this article, we have listed some of the common causes of why such issues may occur and listed solutions that you may follow to stop your headphones from controlling your smartphone. Before we begin, please keep in mind that it is better to visit a service center to repair or replace them for free if your headphones are within the warranty period.
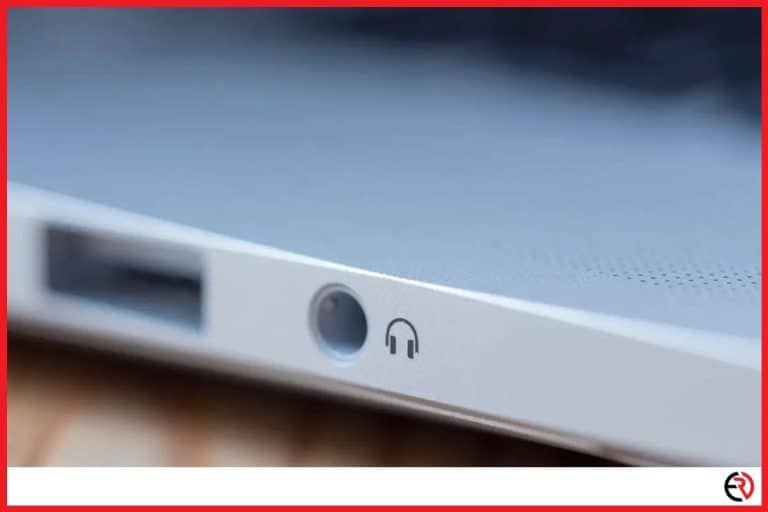
1. Check the headphone port for dust and debris
Over time, our smartphones accumulate dirt and dust that is visible to the naked eye. Thus, people clean their smartphones in an attempt to recover their old, shiny look. However, most people never clean the headphone port of their smartphones or even check them for dirt or dust particles. This is not a good practice since the accumulated dirt inside the headphone port can cause a loose connection and may even make your smartphone malfunction when you insert the headphone jack inside it.
Here are a few ways to clean the headphone ports of your smartphone:
1. Use a can of compressed air – Compressed air cans are easily available in stores like Best Buy or Radioshack and are great for cleaning since air is less likely to damage any internal components. Be sure to select cans that come with long, thin nozzles since those can be used to point directly towards the jack in order to clean it. Just press the nozzle once or twice and all the dirt and dust should come out.
2. Use a taped paper clip – You can take an unfolded paper-clip, toothpick, or even a needle to clean debris inside the headphone jack. However, be sure to wrap the end of it with a scotch or sellotape since direct contact can scratch the metal surface. Make sure not to jam the clip and instead, roll it slowly to get rid of the dirt.
3. Use cotton swabs – Cotton swabs a.k.a Q-tips could be inserted into the headphone jack in order to clean it. It is recommended that you remove some cotton to adjust the width of the Q-tip. Simply insert the Q-tip into the headphone jack and rotate it slowly a few times. You may even apply some rubbing alcohol to get rid of tough dirt. However, be sure to clean the jack later using a dry Q-tip to remove the moisture since it can corrode the metal.
2. Inspect the headphone jack for signs of corrosion
With long-term use, headphone jacks can become corroded due to moisture and constant plugging and unplugging into the headphone port. This is apparent in the form of discoloration or rust. When headphone jacks become corroded, your smartphones may not be able to detect the headphones or receive unwanted electrical signals which may cause them to malfunction. In such cases, you have to replace the headphones or clean the headphone jack thoroughly.
Here are the steps you may follow to properly clean your headphone jack:
- Purchase an interdental toothbrush such as the ones used by people with braces for cleaning their teeth. These are available in grocery stores.
- Next, dip the interdental toothbrush into a solution of 70% isopropyl alcohol. Make sure that the brush doesn’t get soaking wet but remains moist. You can achieve this by tapping the brush slowly.
- After that turn off your smartphone and insert the wet interdental toothbrush into the headphone jack and rotate the brush in different directions to clean it. Be sure to wait about an hour before switching the smartphone to make sure the headphone jack is dry again.
3. Disable Google Assistant and Siri
If your smartphone randomly activates Google Assistant or Siri when the headphones are plugged in but functions properly otherwise, simply switching off the voice assistants can be the solution.
Here is how to switch off Google Assistant on Android smartphones:
- Go to Settings > Google > Account services > Search, Assistant, & Voice.
- Tap on Google Assistant and navigate to the Assistant tab.
- Scroll down and select Phone under Assistant devices.
- Toggle the Google Assistant option.
Here is how to switch off Siri on Apple smartphones:
- Go to Settings and select Siri & Search.
- Disable the ‘Listen for “Hey Siri”’ and ‘Press Home for Siri’ option and select the ‘Turn Off Siri’ option that pops up.
4. Download an app that lets you set the headphone controls
Sometimes, faulty headphone buttons may cause your smartphone to receive signals continuously which can cause it to change volume level, skip music tracks, and play/pause music. A simple fix for such cases is to download a button remapper app such as Button Mapper that allows users to assign what the headphone buttons do when pressed.
You can manually set the buttons to ‘do nothing’ or disable detection completely to prevent malfunctions even due to faulty headphone buttons.
Unfortunately, there are no native iOS apps that allow you to remap buttons. However, if you are using a ‘jailbroken’ iPhone, you can download the Activator app to remap the headphone buttons.
5. Check whether the headphone plug is loose
Due to years of usage, the upper coating of your headphone plug may slowly erode away. Although unnoticeable at first, it may decrease the diameter of the base of your headphone plug which can cause loose connectivity issues when you insert it into your smartphone. As a result, it can trigger voice assistants without prompting or may not produce any sound. This issue is more common in headphones than headsets.
This issue can be confirmed if the headphone is in good condition with no apparent faults in the wiring or plug but the problem persists when you insert it into a different device. Here is how to fix it:
- Cut a thin strip of scotch tape and wrap it around the base of the headphone plug i.e the ground area.
- Make sure that the top 50% of the headphone plug remains exposed.
- Also, note that you only need to wrap the scotch tape around the headphone plug only once, otherwise the base of the headphone plug would become too thick to prevent you from inserting it into the audio port.
6. Check whether the headphone plug is bent
Improper handling and storage of headphones may cause headphone plugs to become bent. This can cause a whole host of issues such as low volume, static sounds, and malfunctioning. Here is how to fix bent headphone plugs:
- Get two thin pliers.
- Use one to hold the middle section of the headphone plug and the other one to hold the tip of the headphone plug.
- Slowly, bend the plug to its former shape using steady force. Make sure to maintain a firm grip and be gentle since headphone plugs are fragile.
- Use a ruler to check whether the plug has straightened. Keep applying steady force until to achieve the desired outcome.
7. Check the headphone wires for damage
Regular use and improper folding methods may cause headphone wires to develop tears, get damaged, and even get shorted. This is apparent if you only hear audio on one side and notice that your smartphone malfunctions when you plug the headphones into the device.
The solution is to properly diagnose the type of wire damage and apply the necessary solution to fix it. However, you have to be very careful while following the process since mishandling can damage your headphones.
8. Reset Bluetooth headphones
Bluetooth headphones may not function properly if they have outdated firmware or you have recently updated the firmware to a new version. Software issues may also cause connectivity problems, static noise, delayed audio, pairing problems, and even unintended activation of voice assistants.
The most common fix is to reset the Bluetooth headphones. Typically, it is recommended that you refer to the device manual that came with your Bluetooth headphones to learn how to reset your device properly. This is crucial since different headphone brands may require different steps to reset their hardware.
However, you can also follow the steps listed below as a general guideline to reset your Bluetooth headphone.
- Press and hold the power button for some time.
- Once you notice that the Bluetooth headset’s light indicator is flashing red or blue, release the power button.
- Re-pair the Bluetooth headphone with your smartphone to use them again.
9. Diagnose connection issues
Connection issues occur when the headphone plug doesn’t fit properly inside the audio port. In most cases, connection issues occur due to the accumulation of dirt and debris or because of corrosion due to regular use. However, connection issues may also occur in new headphones if they come with factory defects. In such cases, it is recommended that you replace them ASAP.
In rare cases, connection issues may also occur due to incompatible phone cases that block a portion of the headphone port which prevents the headphone plug from fitting properly. In such cases, simply changing the phone case or removing it when using headphones can solve the issue.
Conclusion
The tips mentioned above would allow you to fix most issues that may cause your headphones to control your phone. These are great to follow if your headphones are out of warranty and you don’t have the resources or money to purchase a new one. However, it is essential to diagnose the problem properly and follow the instructions thoroughly to make sure you don’t cause more damage.