How to Open Up an Earphone (Without Breaking It)
This post may contain affiliate links which means that, if you choose to make a purchase, I may earn a small commission at no extra cost to you.
Earphones, or headphones, break easily. I find myself buying new ones every other month or two. While they cost so little, their prices can easily add up. So, I looked for how one could open up an earphone and fix it without breaking it even more.
So, how to open up an earphone without breaking it? You can open and repair most consumer earphones with a few electronics and some tools with the following procedure:
- Carefully open the earbud with a knife
- Unsolder the old wire
- Solder a new cable
- Glue the cover back onto the bud
- Test the repair
You can even complete the repair without solder. However, you may want to take some life-extending precautions so you do not have to open up your earphones.
Opening up and Fixing an Earphone
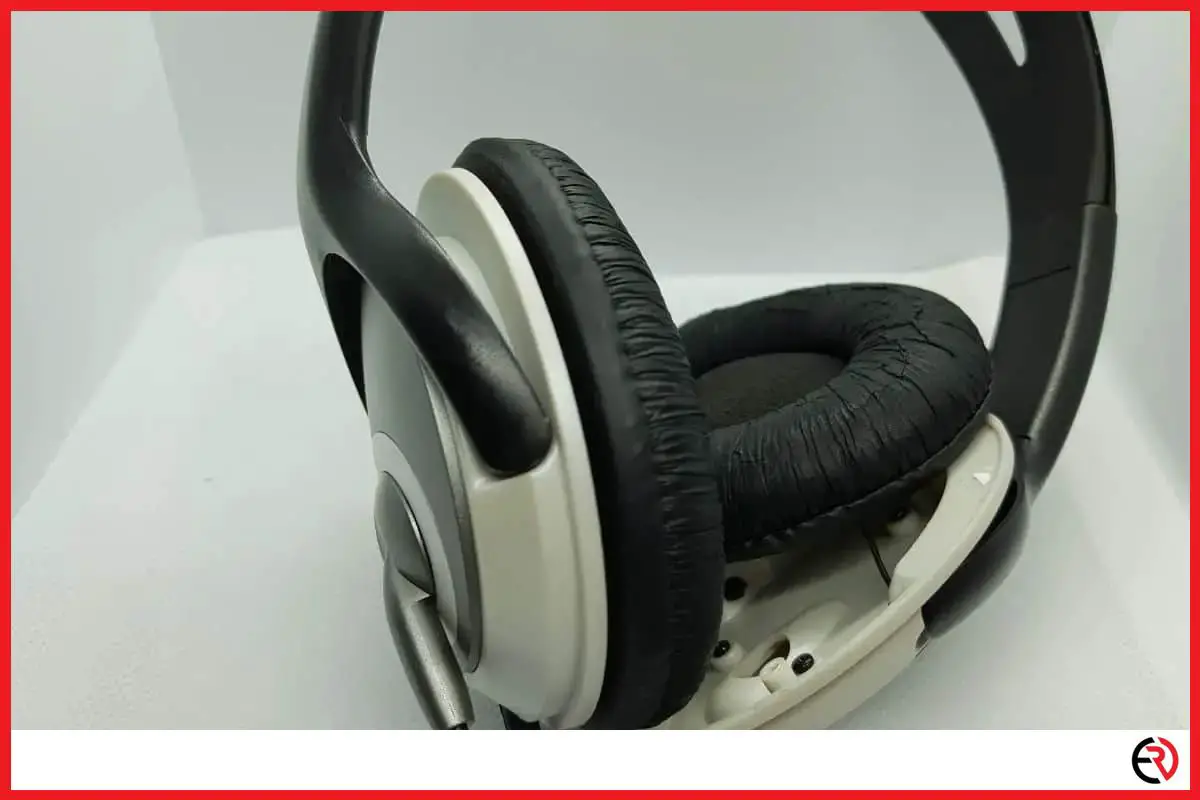
Earphone earbuds rarely last longer than a few months. Even the best headphones will only survive a couple of years at the most. The cables weaken and break under the constant pressure and movement, even with reinforcements in place.
Find the Break
While most people throw their broken headphones out, you can repair them if you have the right tools. However, you must first find where the break is.
While the least common problem, the speakers are the most difficult to fix. This is because manufacturers design earbuds to be difficult to pry open. This difficulty provides some protection but generally gets in the way when doing repairs.
The procedure you must use largely comes down to how your headphone was made. Some earbuds use screws to hold the headset together. Others just use plastic clips or glue.
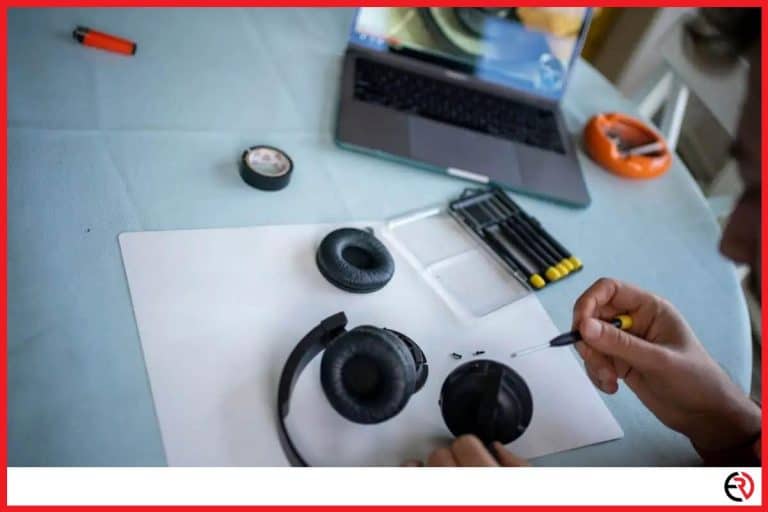
You are in luck if you see screws. You will need a screwdriver, but you should be able to remove the screws without issue. However, you will need a craft knife and a steady hand in the other situation, which is, unfortunately, more common.
Push the Knife Blade Between the Seams.
Before you can do any work, you have to open up the earbud, and you have one option to do it. You take your knife and gently insert it into the break in the cover, pushing the blade through, Once the blade is firmly inside, you can level the two pieces apart, slowly moving around the bud until they come apart.
You may break the plastic, but that is a small price to pay to extend the life of your headphones. Plus, you can always glue back anything that breaks.
Gently Remove the Speakers
The round headphone speaker assemblies have wires soldered to them. You want to check them for damaged or detached wires before you go any further.
Reconnect Detached Wires
Detached wires move around the case, leaving a silver tag on the speaker. To fix your earphone, you must reconnect the wire. To do that, you must:
- Prepare the wire – Remove about 5mm from the tip. You should also strip off enough of the insulation to expose the wire underneath.
- Solder the wire to the speaker – Usie some molten solder to attach the exposed wire to the tag on the speaker. Remember, that you must hold the wire and speaker in place until the solder cools.
Repair Damaged Wires
Damage wires remain attached to their speaker tags but have a kink or damaged sections. You can spot these sections from the discoloring. Fixing these wires is similar to the detached wires.
- Completely desolder and remove the damaged wires from the tags
- Cut a little more than just the visibly damaged areas to ensure you remove all of it.
- Prepare the wire – Remove about 5mm from the tip. You should also strip off enough of the insulation to expose the wire underneath.
- Solder the wire to the speaker – Usie some molten solder to attach the exposed wire to the tag on the speaker. Remember, that you must hold the wire and speaker in place until the solder cools.
Reassemble the Cover
Once the solder cools, you can put the cover back together. If your earphones featured screwed-in earbuds, just put the screw them back in place. Otherwise, you can reclip and glue the two cover pieces together.
Fixing the external cable and jack plug
Fortunately, for most people, only the exposed cable breaks. This break can either happen at the base of the speaker’s cover or the plug. Both situations require similar procedures to fix. Luckily, you do not have to open the earphone to do it.
Find the Break or Short
When the external cable breaks, a short develops in the wire. You test for this short by wiggling the wire while plugged into your media device. You will hear the sound come in or out as you adjust the cable. Be careful not to detach the wire from the speaker itself.
Expose the Wire
Once you find the break, you must strip the insulation and expose the wire to fix it. If you need it, you can open the plug as well.
Either way, you first cut the wire at the break, and peel back the insulation on both sides of the break. Carefully remove enough of the insulation that will allow you to easily expose and manipulate the wires underneath.
Note the Colors of the Exposed Wires
You will find two to three color-coded wires inside. Typically, they are yellow, white, and red, but you can find other colors as well. You want to note these colors as you must reattach them to the same color stems on the other side of the break. Finally, you want to strip these small wires to expose about 1 cm of metal.
Solder the Two Sides Back Together
Now, you want to solder the two ends of the cable together. Remember, you must connect the small wires by color: yellow to yellow, red to red, white to white, et cetera. If you accidentally connect them wrongly, you can use a carpet knife to separate them.
Re-Encase the Wires
After you connect the wires, you can wrap them up again. You can either use duct tape or a similar adhesive, such as scotch tape. The case exists to prevent the wires from bending and breaking the solder. So, you should wrap the wires until there is nothing exposed.
Test the Earphones
Finally, you should plug the headphones and test to see if they work. If they do, you are done. If they do not, you can either check for another break and repeat the procedure. You can even redo your repair in case you made a mistake.
How to Repair Headphones Without Solder
Soldering the wires back together is the best way to repair your earphones. This method makes a durable bond that can last as long as the headphones were new. However, not everyone has a soldering kit, and need an alternative way to make the repairs.
Luckily, you can repair earphones without solder. It will not last as long, but it will allow you to use the headphone longer than you would otherwise. You just need a knife, lighter, and tape.
You will also need a fully working AUX cable or a working donor headphone. AUX cables are cheaper, and you would not have to lose some working equipment. However, most AUX cables do not have a microphone wire in them. So, you will need a headset if you need a mic.
Cut the Donor Cable to Length
The first thing you should do is cut the donor cable to the length you need. The cable segment should be at least 5 to 7 centimeters or longer. You should not cut the cable short as you will not be able to fix it if something goes wrong. You also want the junction far away from the connector.
Remove the Rubber Sheath
The next step is stripping off the sheath with your knife to expose the wires inside. You do not need to press the blade hard. The sheath will diverge itself with just a gentle shave. Continue the cut around the cable by rotating it. Once you complete the circle, you should be able to pull the sheath right off.
Clean off the Varnish
Most manufacturers apply a lacquer and kapron varnish to the copper wires to strengthen them while wrapping them in a nylon thread. However, these materials will get in your way as you repair your earphones. So, you want to remove them before you continue any more repairs.
Fortunately, they burn easily, and you can remove them just by putting a flame next to them. The nylon will flash quickly and erode. You can stop the heating once 1-1,5 centimeters burn off. The varnish may leave a residue that you can clean with a fingernail.
Just don’t burn the wire so much that the copper melts as well.
Prepare the Earphones for Repair
Now, it is time to prepare your headphones for repair, starting by removing the old broken cable. You should make sure your cut is at least 2 to 3 centimeters away from the base of the jack or speaker assembly.
Once complete, you should expose and strip the wiring. You can clean the varnish off them as you did with the donor cable.
Twist the Appropriate Wires Together
With everything ready to go, you can begin your repair. Solderless electronics repairs involve twisting together the wires across the gap. Therefore, you want to note the colors of the wires in your headset and your replacement cable.
Most earphone sets have 3 or 5 wires inside them, depending on if they have a microphone or not. Three wires carry the signal to the speakers, the other two if present hand the mic. The mic wires tend to come wrapped around each other, making them easy to spot.
Most AUX cables come with just three wires: gold for ground, blue for left, and red for right.
However, there are always exceptions. Fortunately, ground wires are usually either gold or a mix of colors that include gold.
Once you identify the colors of the wires, you can start twisting them together. You should make sure you only twist together wires of the same color or signal. Generally, this means you twist the red wire in the headphone with the red wire in the replacement cable.
Continue this with the other wires until you run out of free wire leads. You can look up your headphone’s schematics to learn which wire is which if yours has a non-standard color scheme.
Isolate and Insulate the Wiring
The last step in the repair is adding insulation, as you removed it earlier. If you do not do this, you may end up shorting out your speakers, elimination one of the channels leaving only a mono-sound experience.
The first step here is to isolate the wires. Once separated, you can wrap each wire with 3 or 4 layers of a wide scotch or electrical tape. With that done, you can wrap together the entire wire assembly to protect the cable from further breaks.
Testing the Repair
Finally, you should test your repair to see if it worked. The entire process takes about 15 minutes. So, you can easily repeat the procedure if something went wrong.
What if Your Cable Has More Wires?
Most headphones have three or four wires inside. However, you will find earphones with up to 6 wires on the market. If you find yourself with one of these, there are two simple reasons for the extra wires: the wires are not used, or they supply the extra features.
Some five to six-wired headphones use the extra wires for additional features such as a microphone or noise-canceling technology.
The other five and six-wire earphones have no use for the extra wires. They are just there because the makers do provide headsets that do have uses for the wires but did not want to split their production in two.
In these headsets, only three or four of the wires are connected, and they are easy to spot after you open them up.
With either format, you can also use a multimeter or trial and error to find which wires to reconnect. Though, you will have limited options if you cannot pry open the speakers.
Please note, you have to test for the correct wires. Many manufacturers use their color scheme. So, we cannot give you general advice here. Your best bet is to find schematics of your earphone model.
How to Extending the Life of Your Earbuds
While opening and repairing your earphones are easy, your best bet is to not damage them in the first place. Regardless of the brand, model, or the number of wires inside, you can extend the life of your headphones by taking a few precautions
Pull Earbuds at the Base
Most people remove their earphones from their ears by yanking on the cord. You should never do this as it just weakens the cable. Instead, you always want to grab them from the plastic base of the earbud or around the jack plug.
You should also pull the cable out gently. Quickly yanking does nothing special other than disconnecting the wires, reducing the life of the cable.
Wrap the Cable in Electrical Tape
Because headphone cables weaken over time from general use, you can extend the life of the cable just by increasing its strength. You do this by wrapping the cable and the bases with a strong electrical or duct tape.
The tape will provide extra environmental protection. It also restricts the movements of the wires, ensuring that the cord cannot bend, especially at the joints.
Store Earphones Wrapped in a Case
When not using your earphones, you should wrap up and store them in a case. A quick way to wrap up your headphone cable is to unplug it and then start wrapping it around your hand in a loose circle.
Once wrapped up, you should store the earphone on a flat surface so it will not get tangled. Any flat surface you will not accidentally bump will do. For additional protection, you can store the headphone in a hard or soft headphone case, especially if yours came with one.
Regardless of what you do, you should never store your earphones in a pocket or around your media device. While this may work while traveling, these situations strain the cord, leaving them tangled.
If your headset did not come with a case, you can find good ones in most consumer electronics stores.
Regularly Clean Your Earphones
If your earphones have removable rubber tips, you want to take them off occasionally to clean them with soapy water. This washing will remove any wax and dust that accumulated on them.
You should also scrub the small speakers with a dry toothbrush. Cleaning the speakers eliminates the wax and dirt that may be blocking the speakers from working properly. Just remember to let the rubber tips completely dry before you put them back on your earbuds.
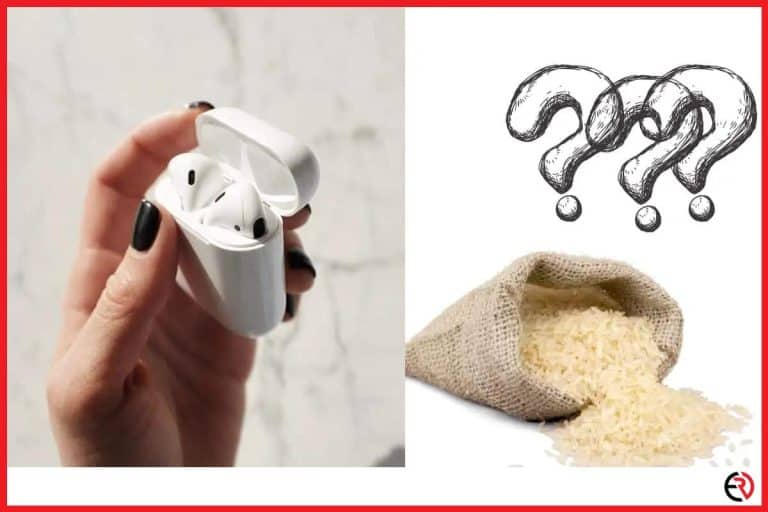
You should never get the electronics wet. If you accidentally do this, you must immediately cover them in rice for 2-3 days to help them dry out.
Check out this article about cleaning your foam earbuds.